Han Learns to Build a Boat – Jim Michalak's Mayfly 14
…. and with no prior knowledge/experience in woodworking, boat building and sailing
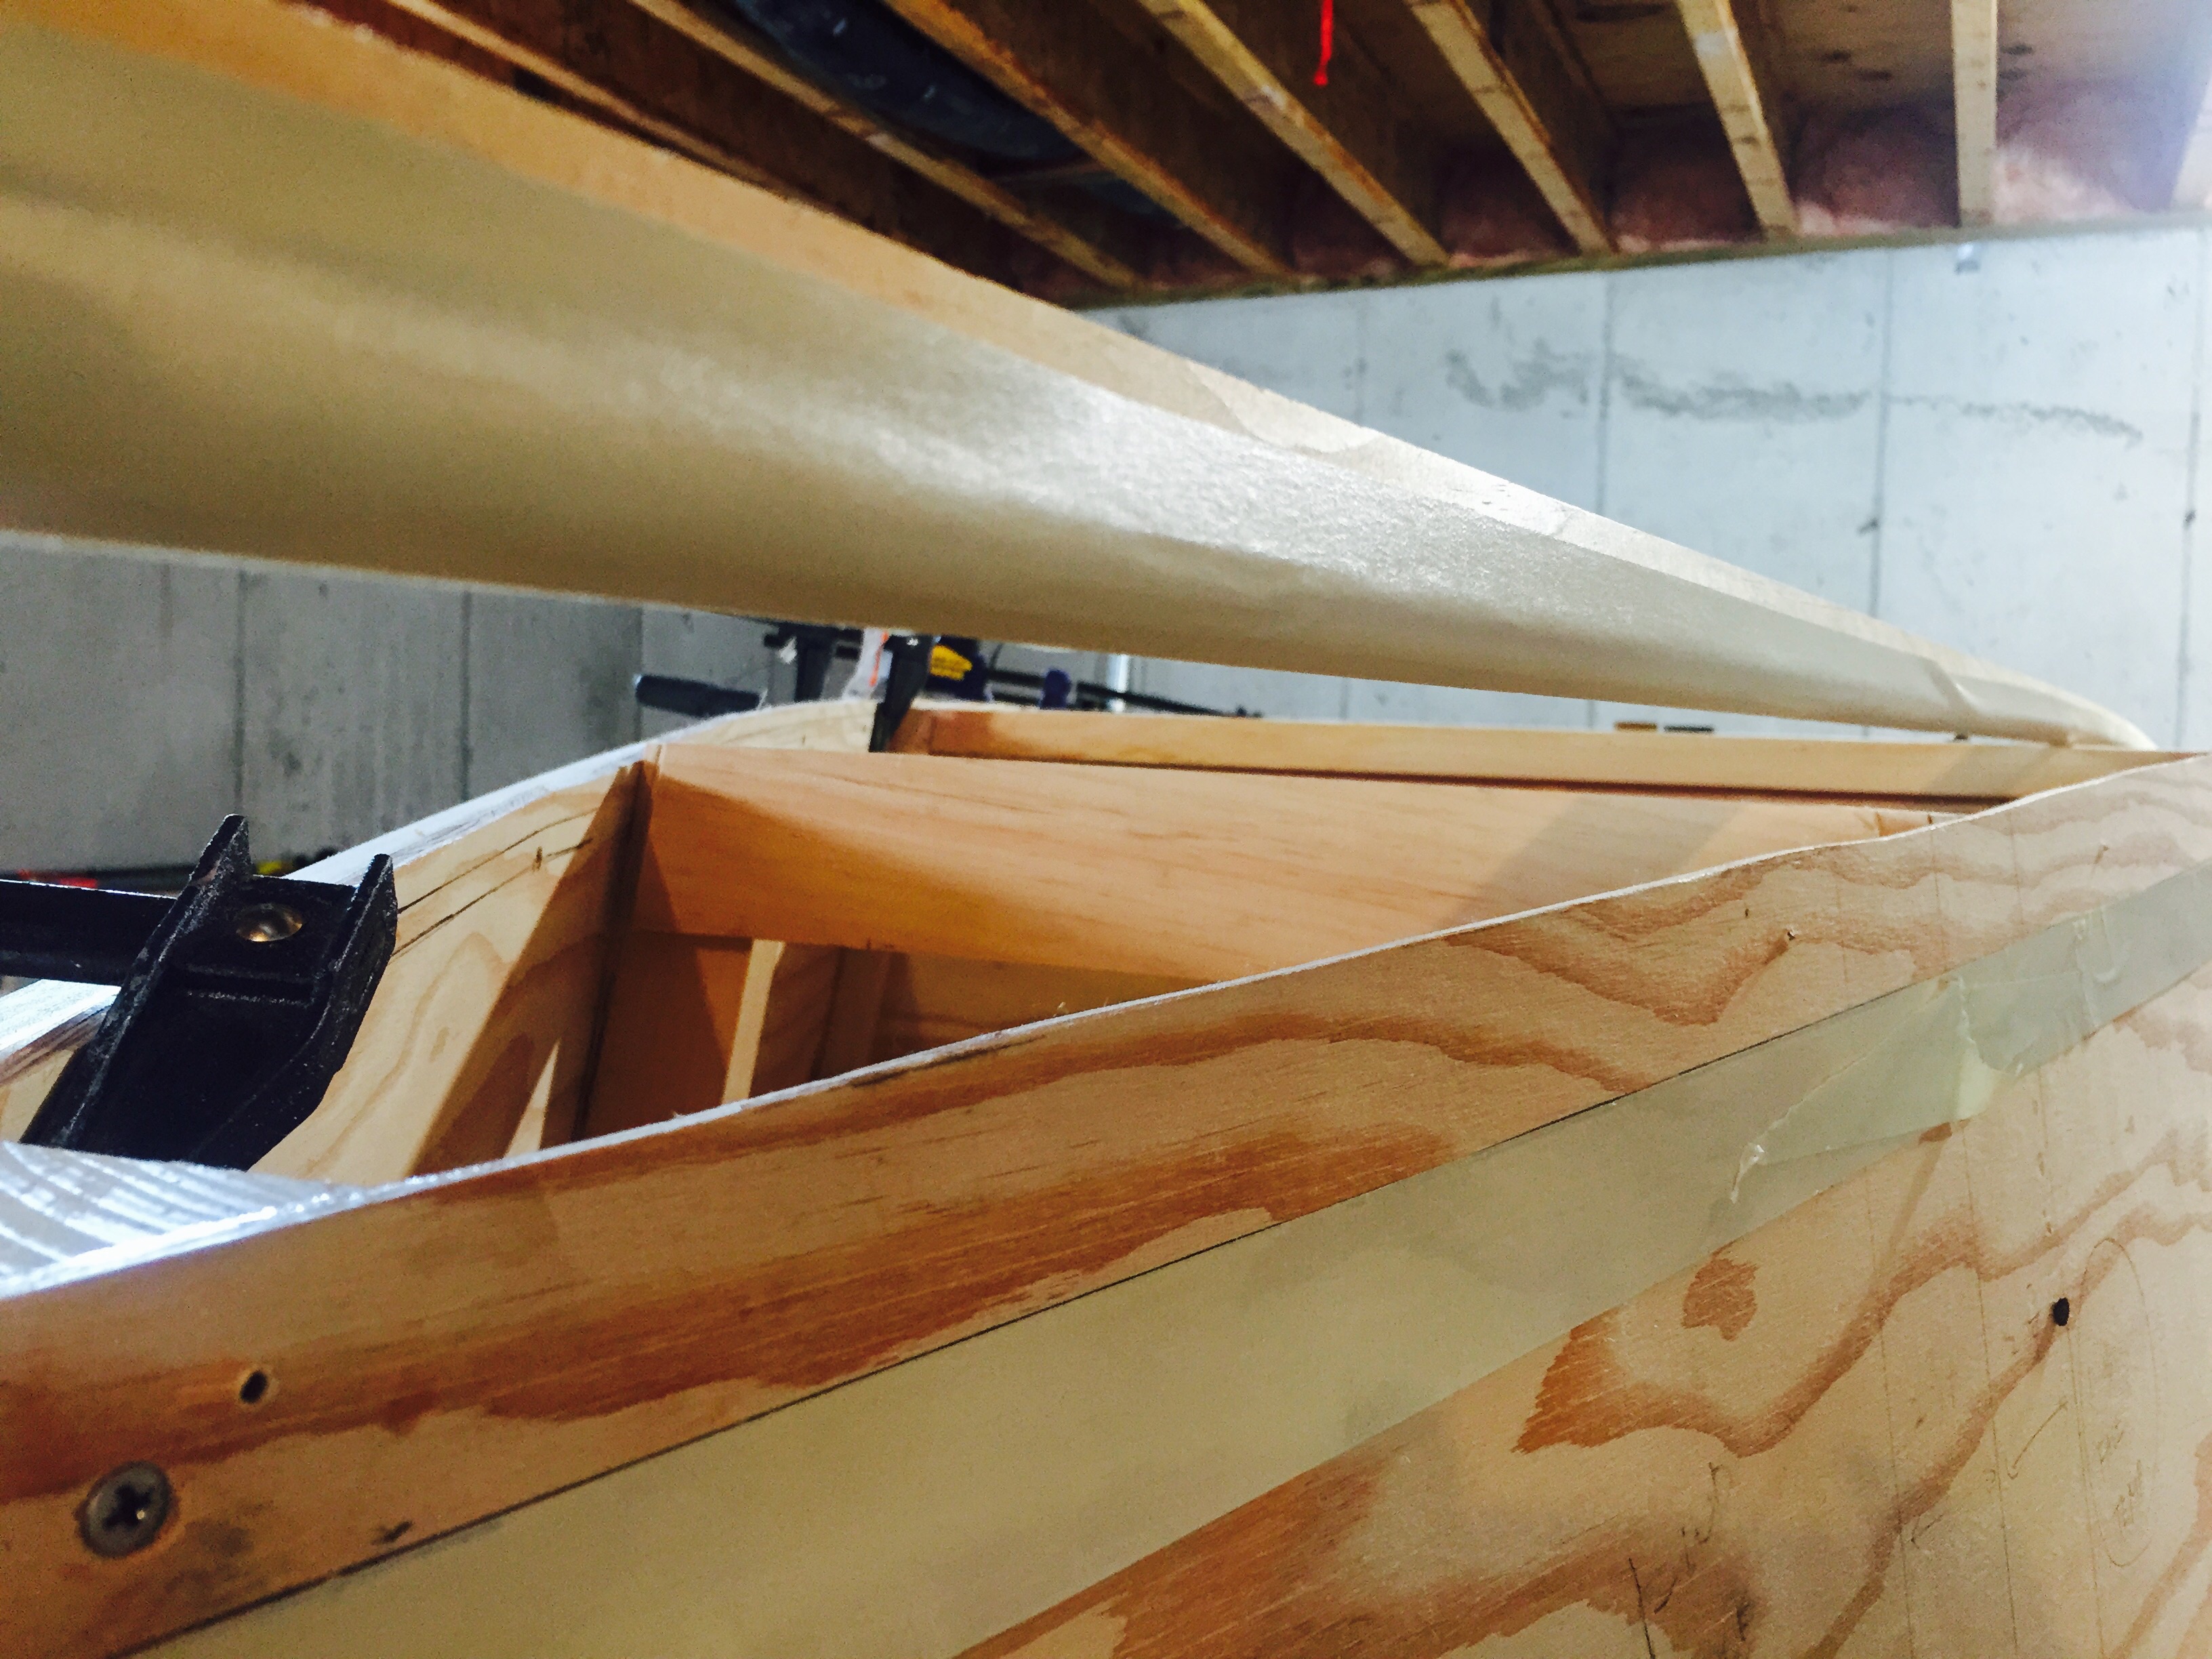
Chine logs installed
Over the last weekend, chine logs were ripped, beveled at ∠10°, edge rounded and installed. This was the first time for me to see the hull upside down.
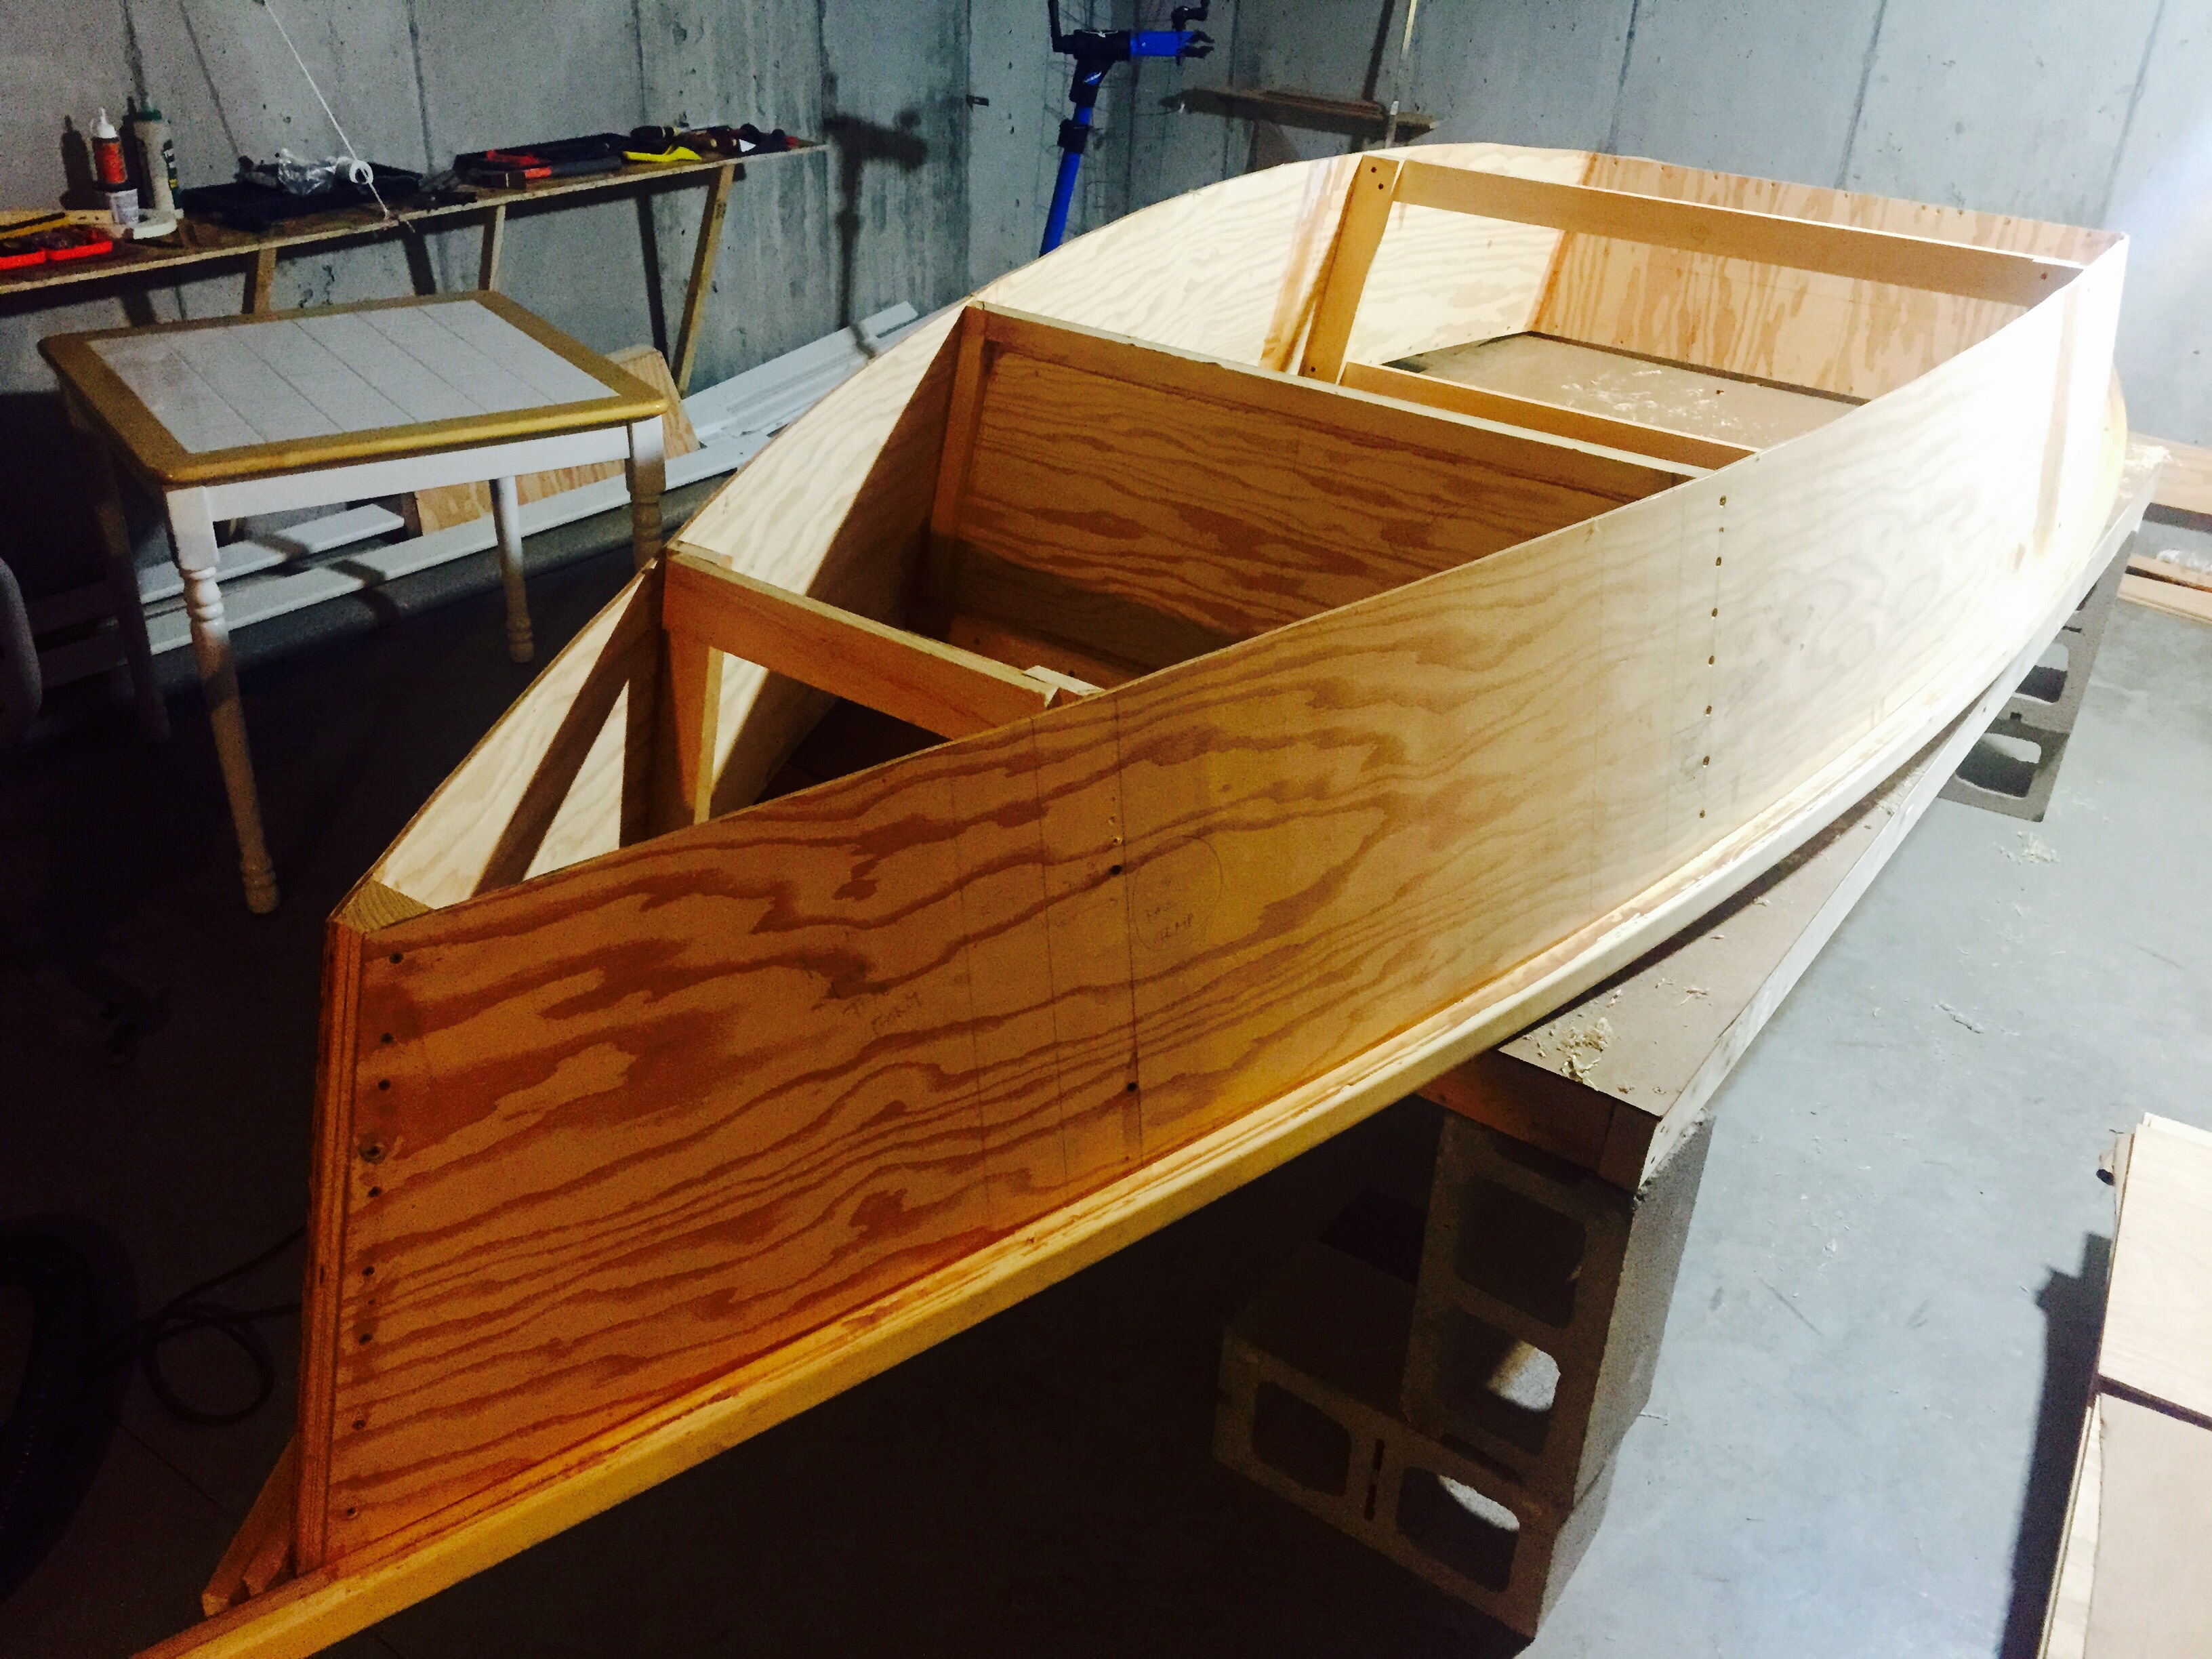
Hull upside down before chine logs were installed

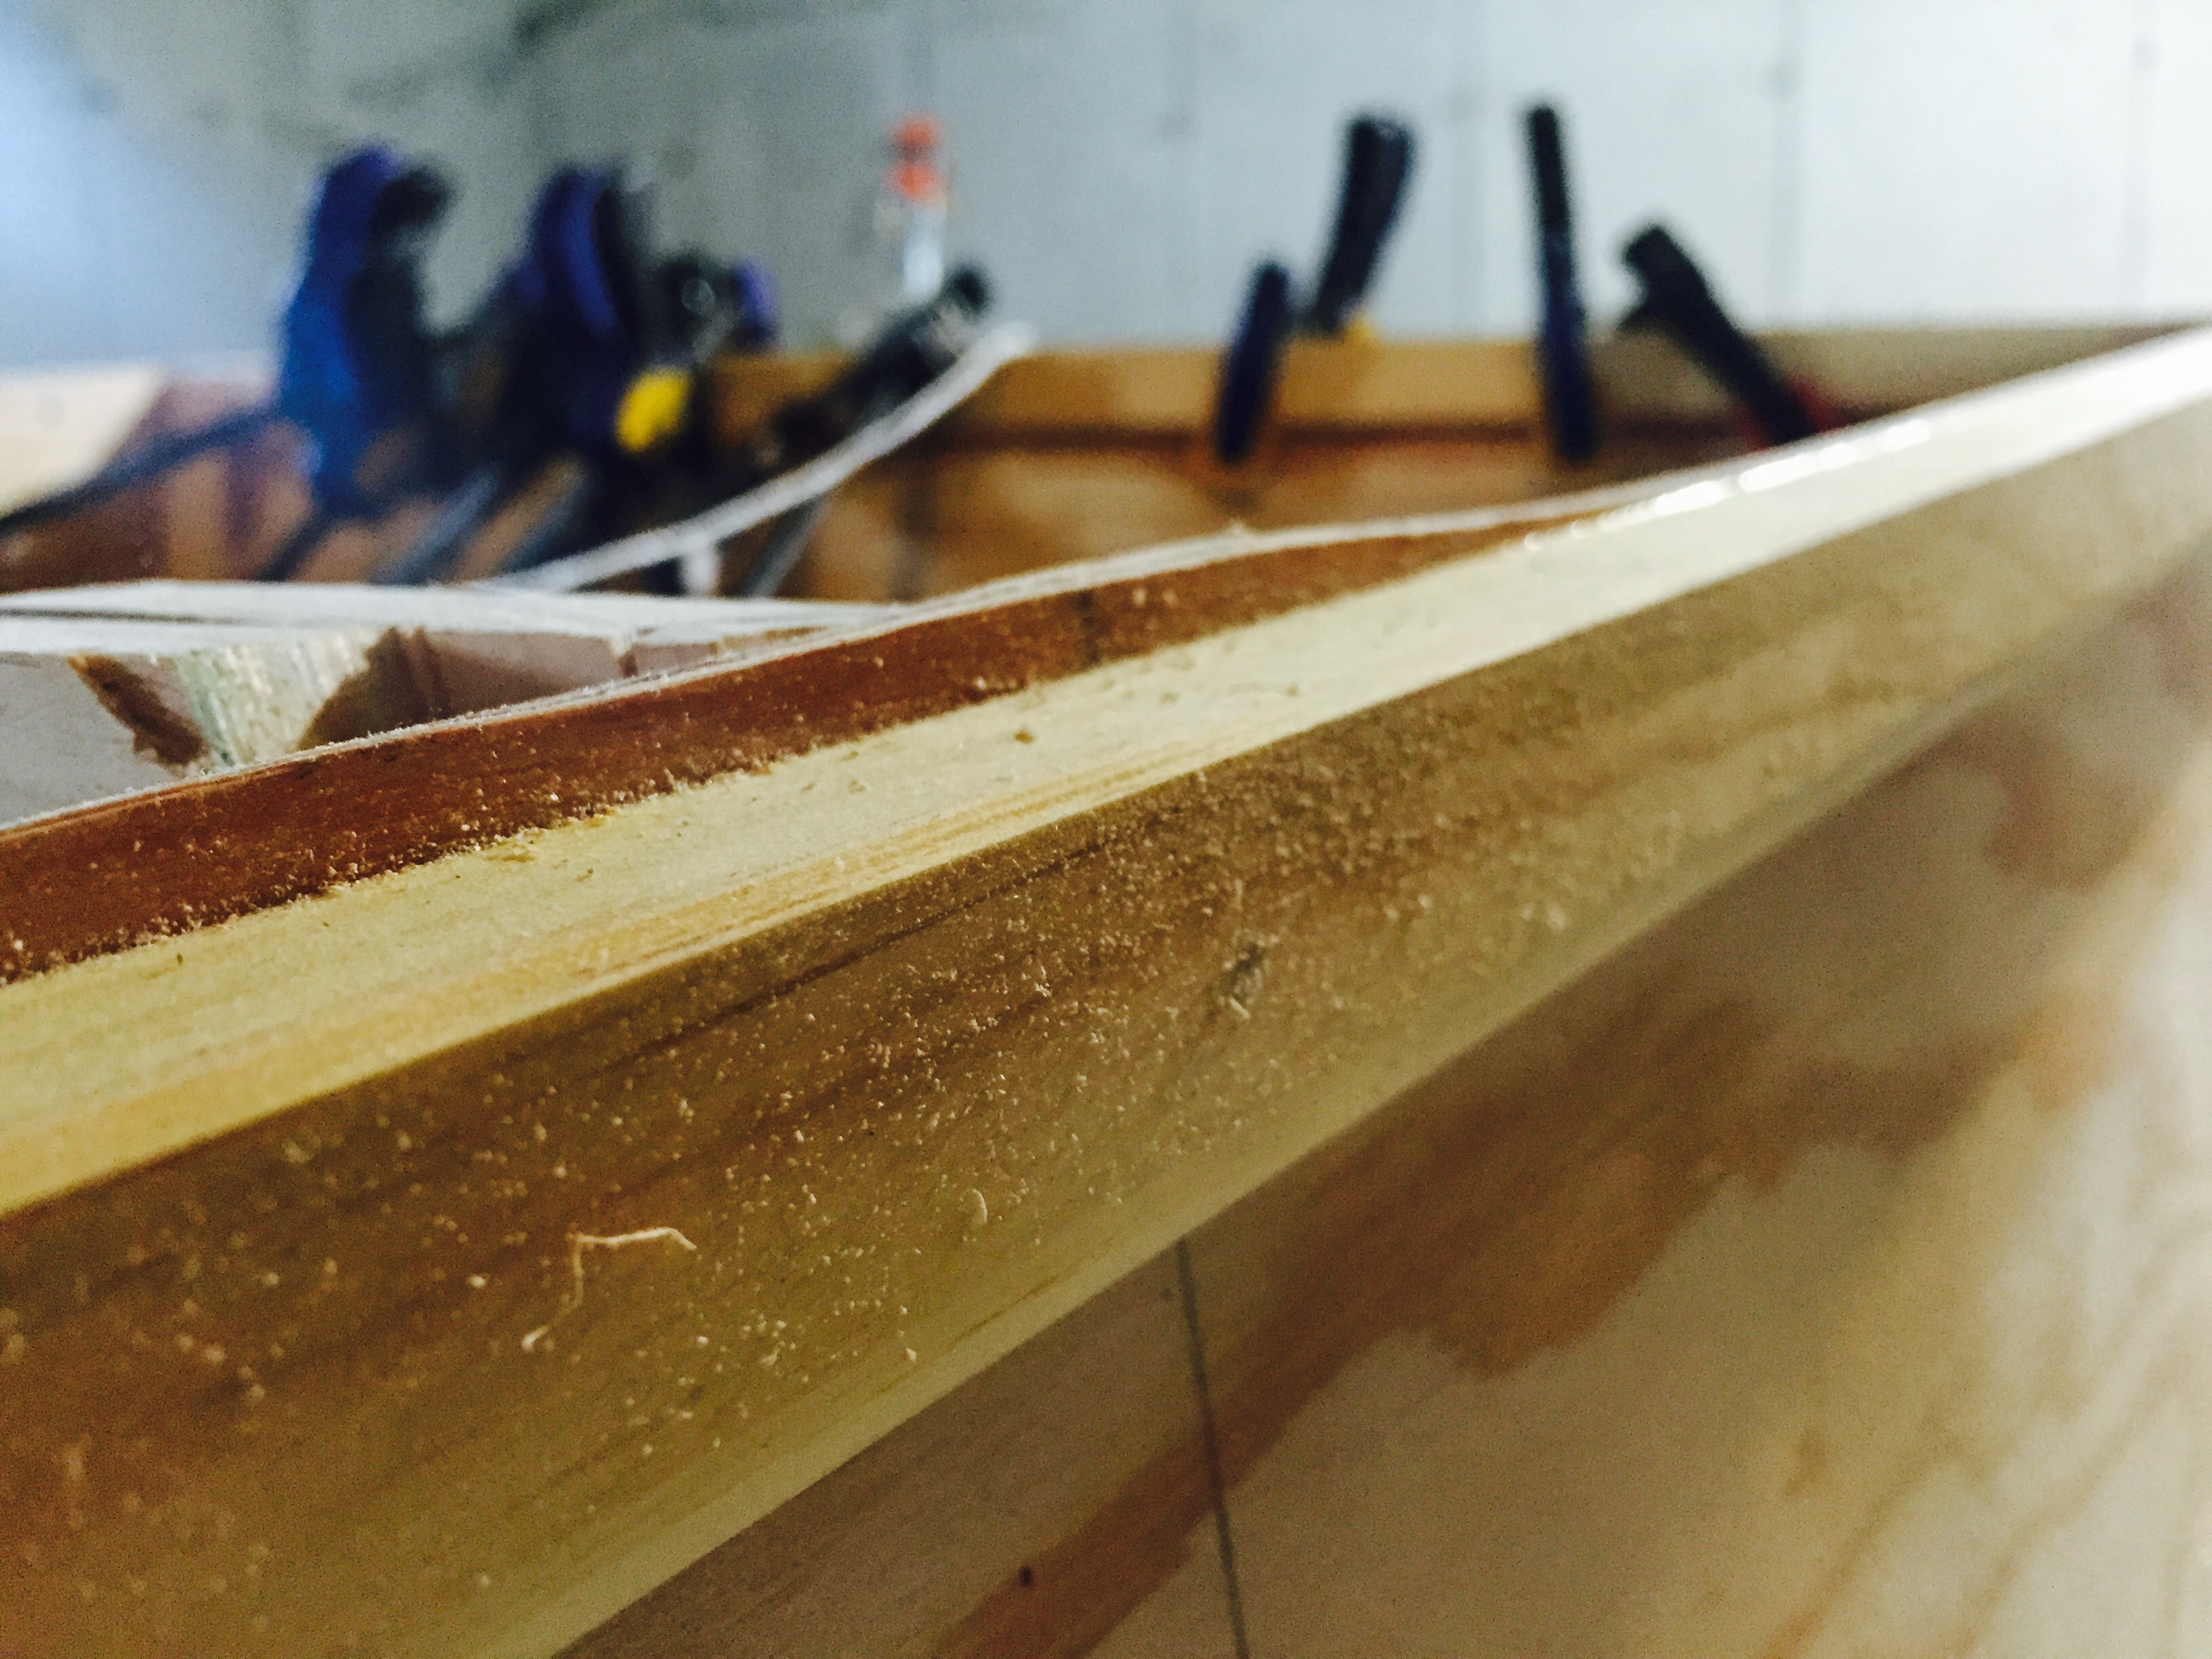
Chine log beveled and edge rounded.
One set of the chine log had to go through jointing three times; the first time, I did not have enough glue; the second time, epoxy never cured. Dry fitting started off with screwing the log to the end of the aft to have better leverage bending the wood, especially at the aft section. And then I added more temporary screws and clamps as I moved forward.

Dry fitting started from the aft end first with a temporary screw for better leverage bending the log.
Once dry fitted, I unscrewed the chine logs and applied masking tape to the side panels and to the chine logs to manage excess glue drippings to come later. For the actual installation, I repeated the same process as the dry fitting – applied the glue (epoxy+silica) first, screwed (this time, stainless steel screws) the log to the end of the aft, and then moved forward with more screws and clamps.
Masking tape applied to side panel and chine log.
Somehow, some part of the side panels had access areas. I used a planer to remove the excess and add some light hand sanding to get rid of any epoxy on the wood.
Excess side panel is removed with block planer.
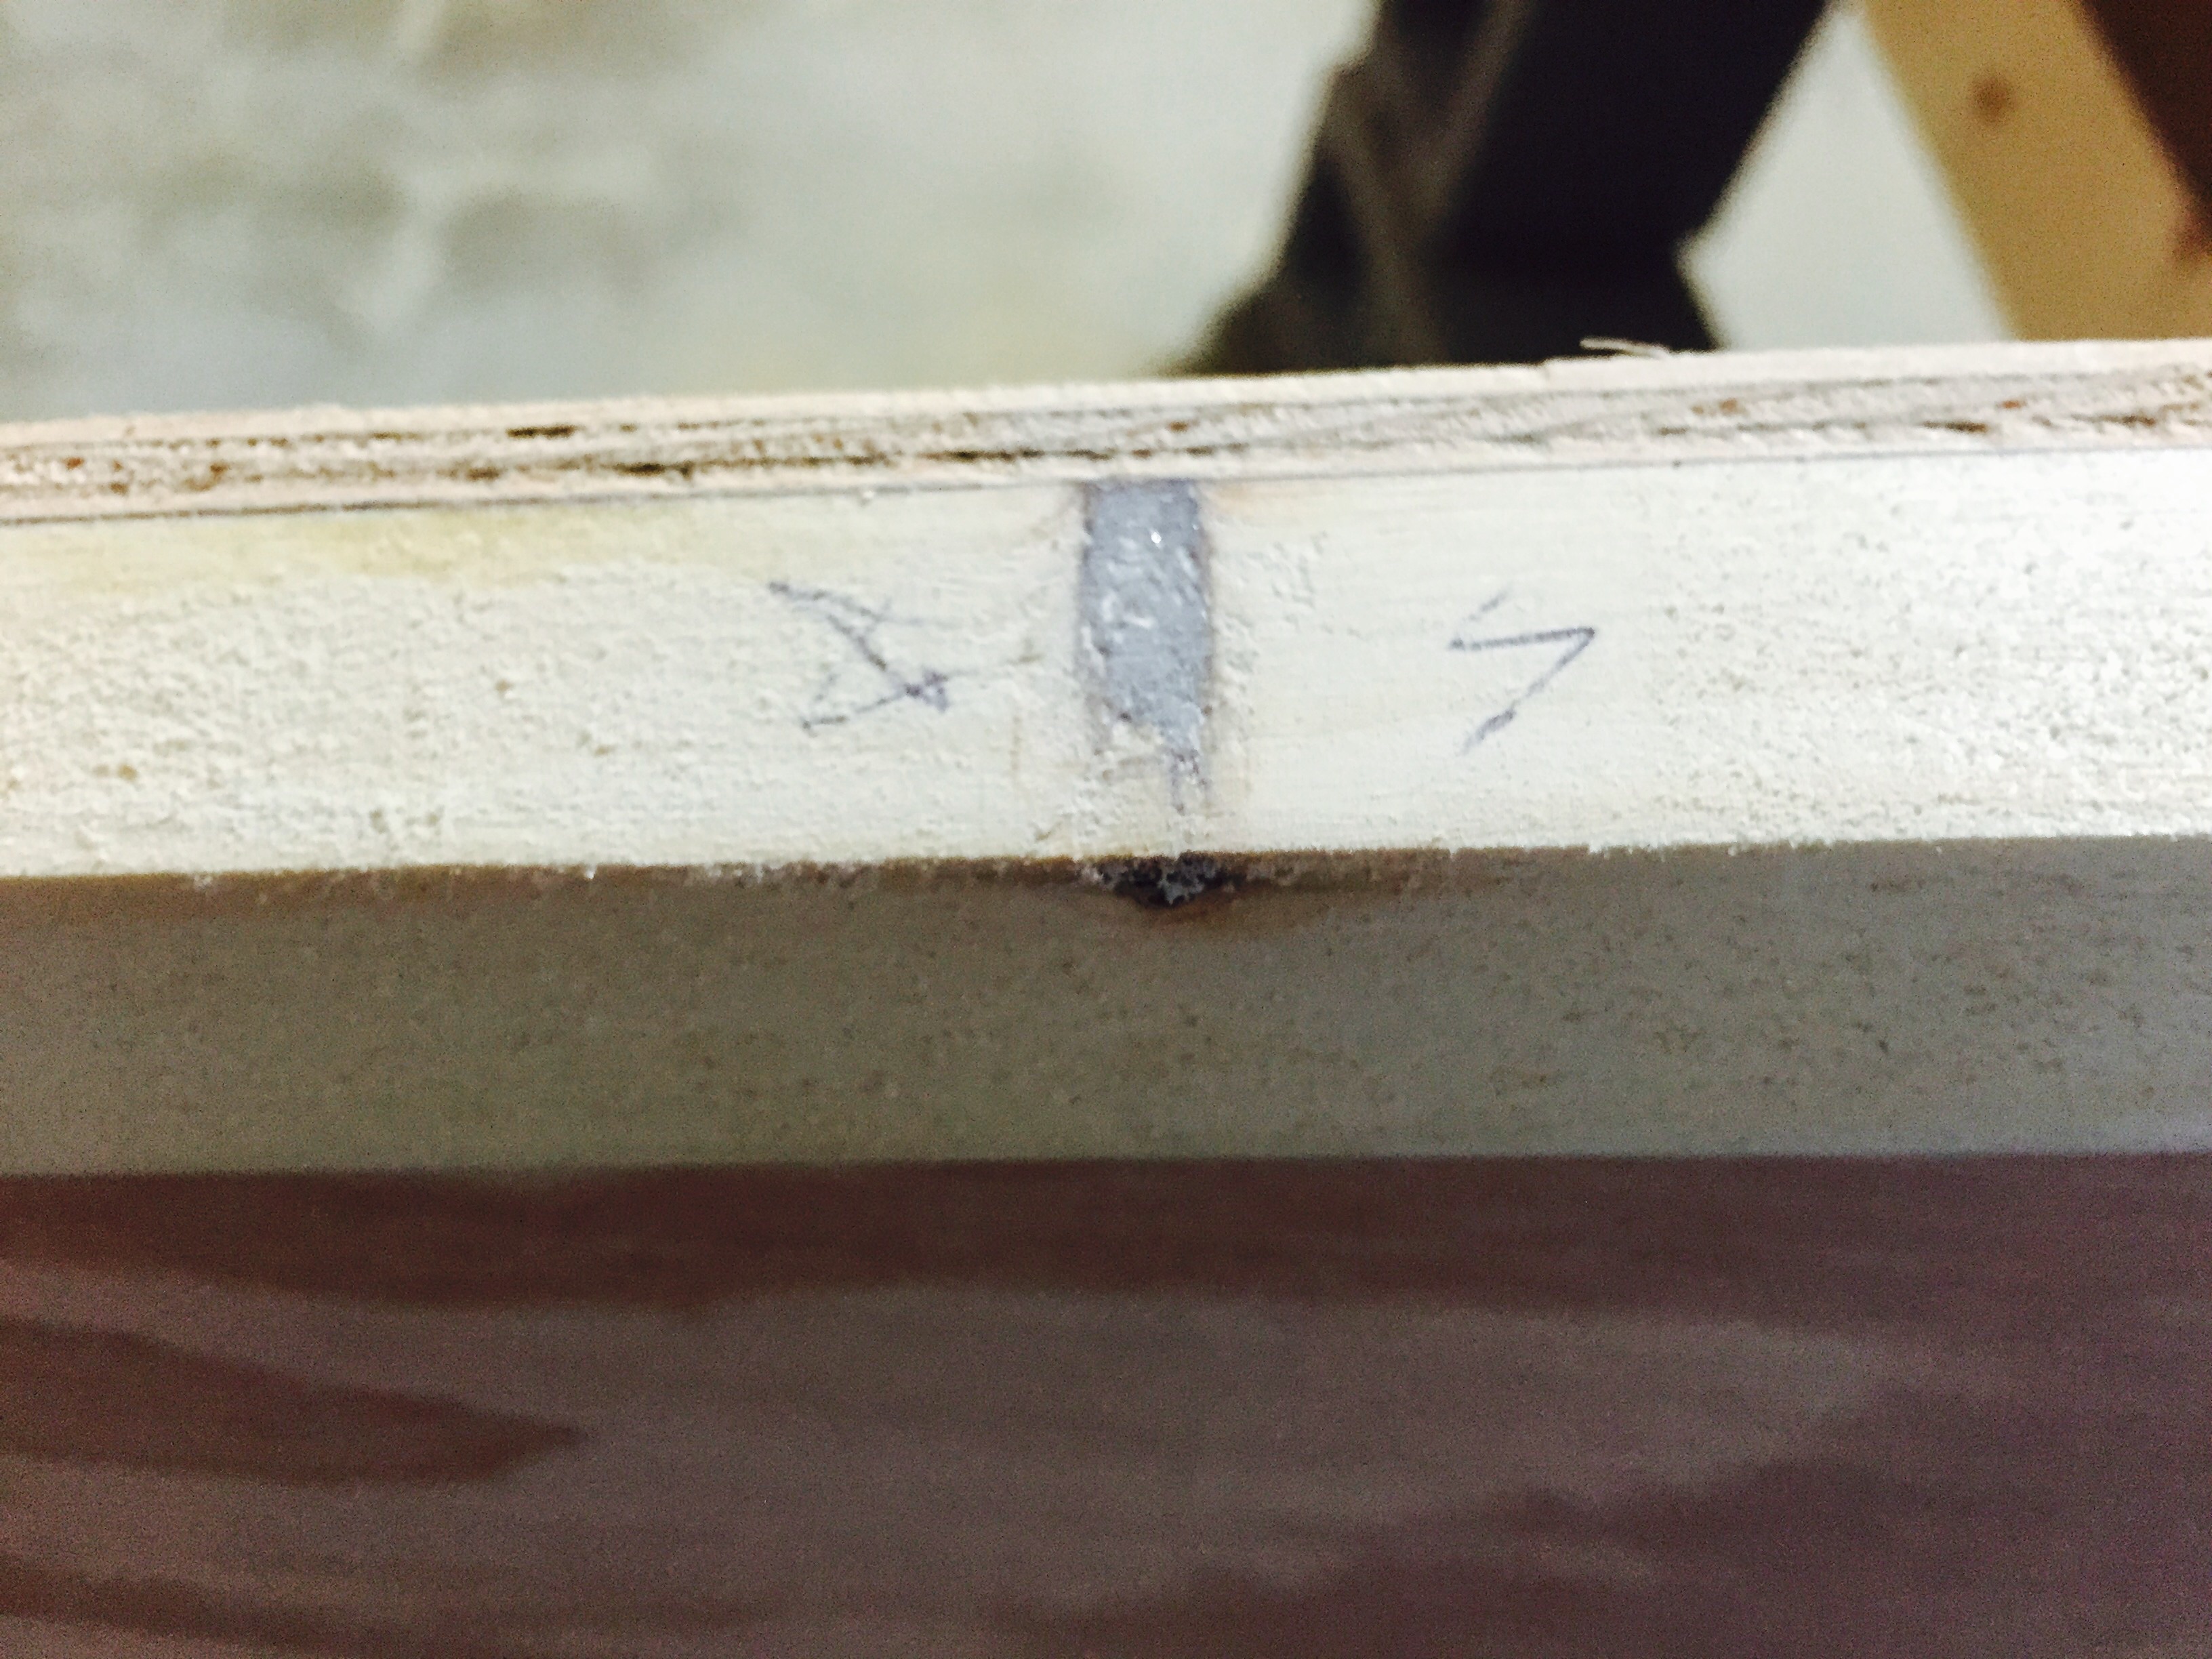
One of the chine logs had a small knot. I dug it out and filled with epoxy/silica putty.
Below pictures show what it looks like when finished. ∠10° bevel worked out very well – likely there will be almost no void between the chine log and the bottom.

Chine logs completed.
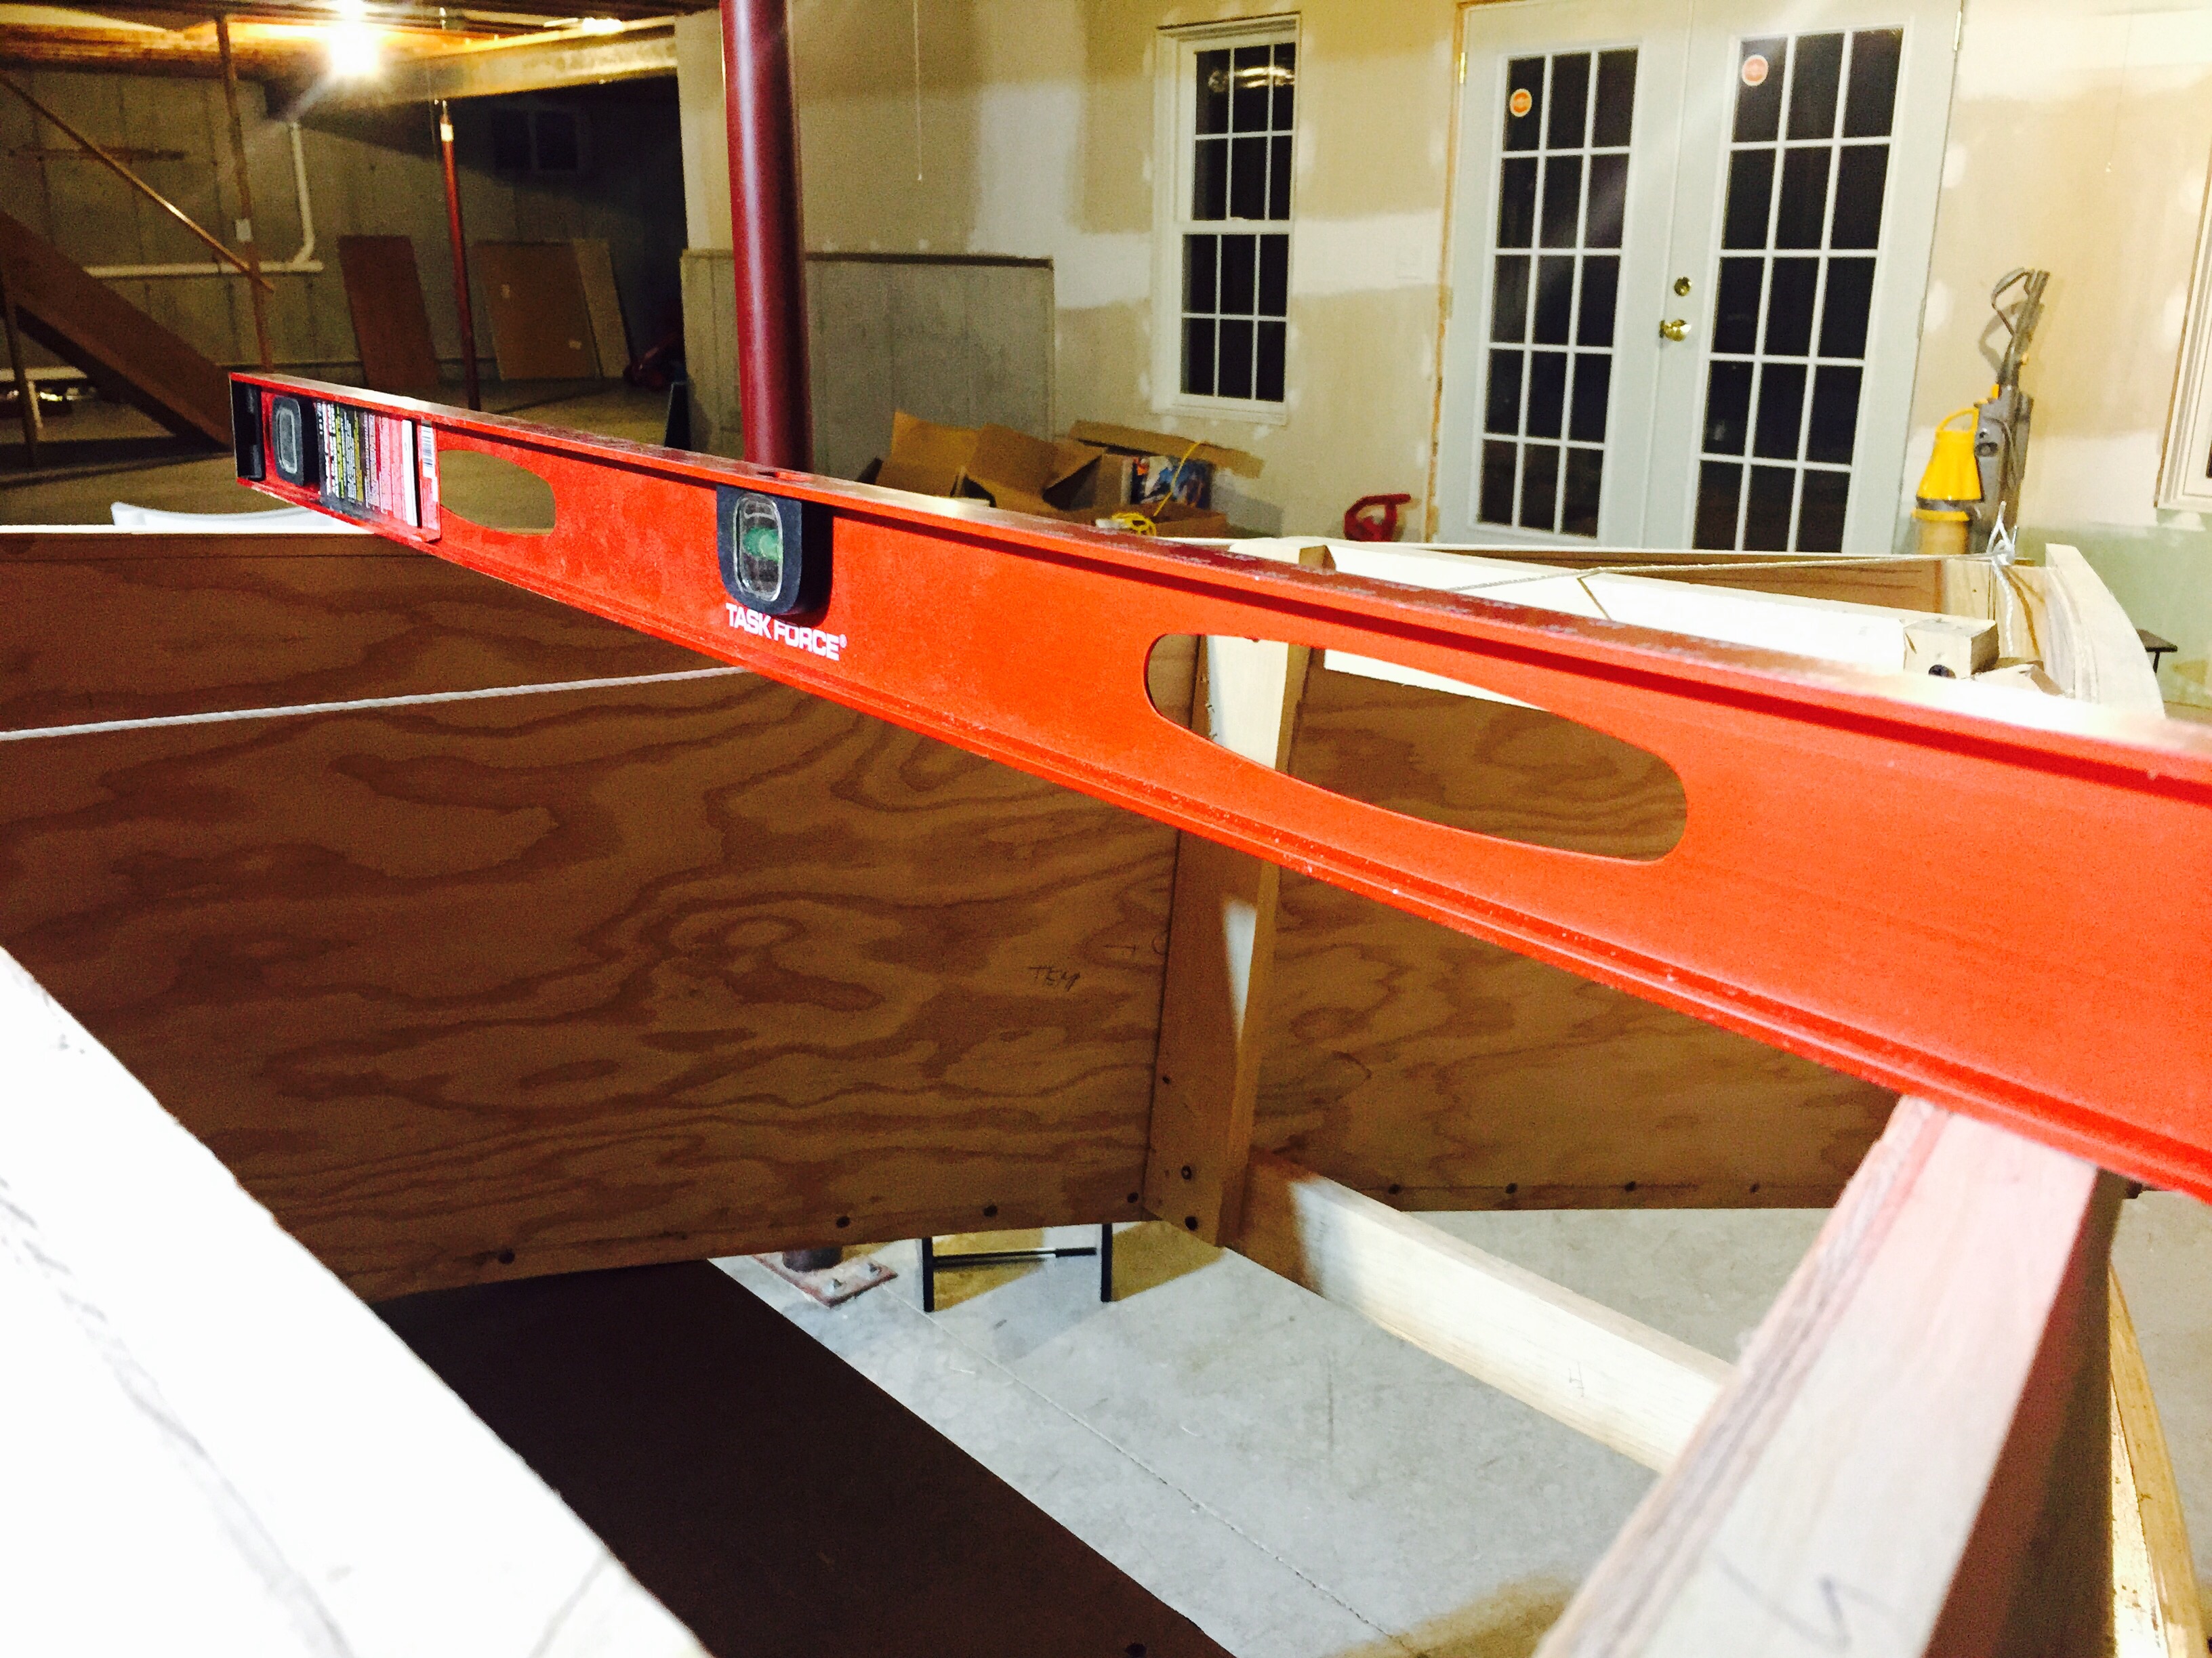
I swept across the chine log end-to-end with leveler to see any if there is any major gap between the leveler and the logs. And they turned out almost seamless to my surprise.


